How to annotate a screenshot with arrows, text, and numbers
Learn how to annotate a screenshot with arrows, text, boxes, and step numbers in PixPin, then edit your marks and copy or save a clear image to share.

On this page
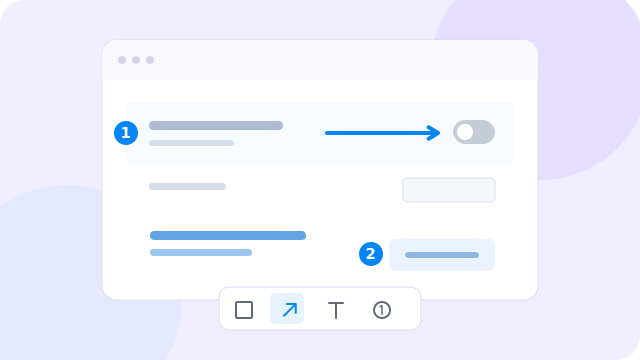
To annotate a screenshot in PixPin, press Ctrl + 1 on Windows or Control + 1 on Mac and drag to select an area. Choose Arrow, drag toward the detail, then choose Text, click an empty space, and type a short explanation. Press Esc once to finish typing. Click Copy and close to paste the result elsewhere, or Save to create an image file.
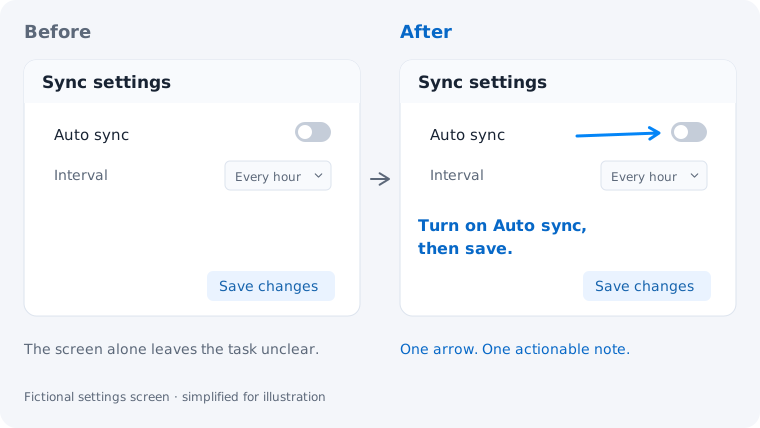
That is enough for many support replies and bug reports. Below, we use one fictional Sync settings screen to explain a single instruction: “Turn on Auto sync, then save changes.” Start with an arrow and a note; add a box or numbers only when they make the instruction clearer.
1. Capture enough context to explain the task
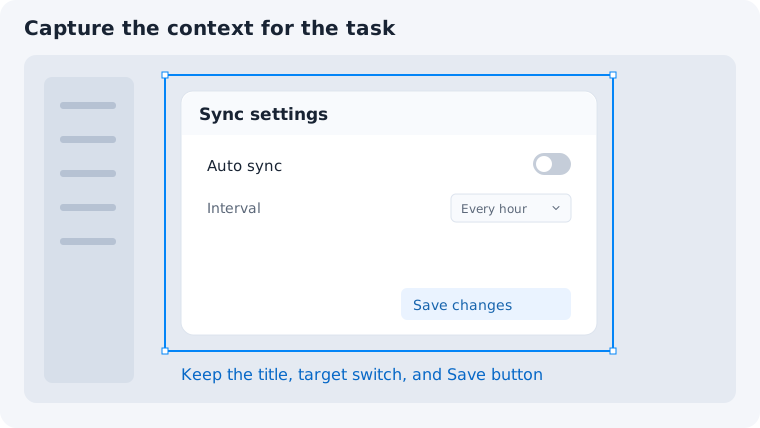
Select the settings panel, including its heading, the Auto sync switch, and the Save changes button. Leave some space for a short annotation. Cropping down to the switch alone would hide which setting it belongs to; capturing the entire desktop would make the useful part smaller.
The annotation toolbar appears after you select the area. If a tool is grouped under another button, click the small arrow beside that button to open its menu. See the annotation basics manual for toolbar controls.
2. Add an arrow to show where to look
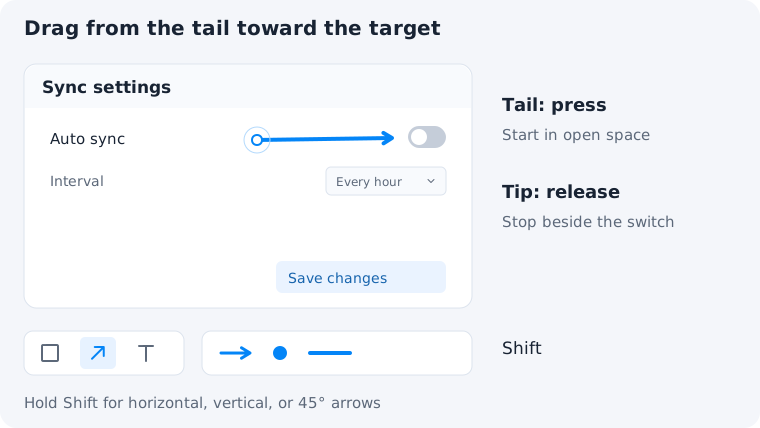
Choose Arrow. In the style bar below it, pick a one-way arrow, a visible color, and a width that stands out without hiding the control. Press where the tail should begin, drag toward the Auto sync switch, and release near it. The release point becomes the arrow tip.
Keep the arrow off the setting’s name and leave the switch visible so the recipient can see its current state. Hold Shift while drawing if you want a horizontal, vertical, or 45-degree diagonal arrow.
An arrow answers “Where?” In this example, one arrow pointing at the switch is enough. It does not need a second arrow pointing back at the explanation.
3. Use a rectangle, text, or numbers for a specific purpose
These tools solve different problems, even on the same screenshot:
| Tool | What it communicates | Example on the Sync settings screen |
|---|---|---|
| Arrow | One precise target | Point to the Auto sync switch. |
| Rectangle | A whole area or related group | Outline the Auto sync label and switch together. |
| Text | The action or reason | Write “Turn on Auto sync, then save.” |
| Numbers | The order of actions | Put 1 beside Auto sync and 2 beside Save changes. |
For a rectangle, choose Geometry, select the rectangle shape, and drag around the Auto sync row. Use an outline so the setting remains readable. A box is useful when the whole row matters; skip it if the arrow already identifies the target clearly.
To add text to a screenshot, choose Text, click open space, and type your instruction. Set the font size and color in the style bar. “Turn on Auto sync, then save” gives the reader an action; “Important!” leaves them guessing. Press Esc once to finish entering text.
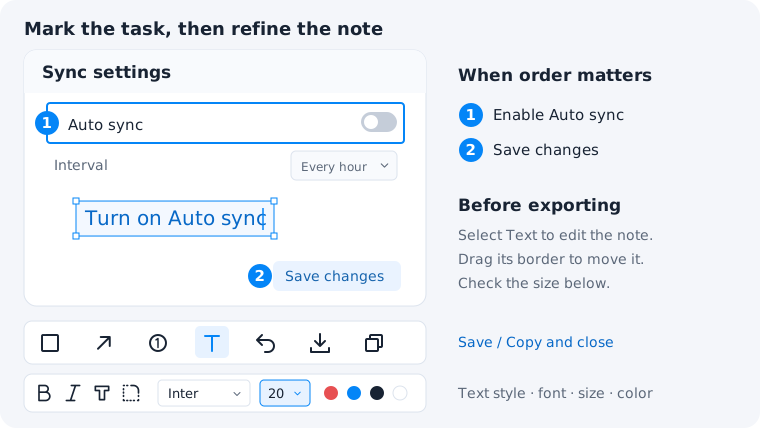
For step numbers, choose Serial, PixPin’s numbered-marker tool. Check that the next marker is 1, click beside Auto sync, then click beside Save changes to place 2. Match the markers to the instruction: 1. Enable Auto sync. 2. Save changes. Place them beside controls so they do not cover labels.
4. Edit your marks and check readability
Before exporting, remove anything that repeats the same message. The first illustration’s arrow and sentence are enough for a quick reply. Use numbered steps when order matters; you do not have to combine all four tools in the final image.
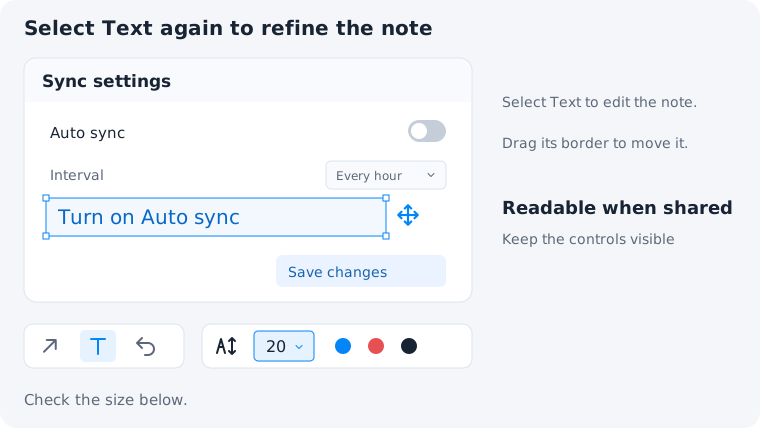
To change a mark, switch back to its tool and select it. With Arrow selected, drag an endpoint to correct its aim. With Text selected, click the existing note to edit its wording or change its font size; drag its border to move it. If you cannot select a mark again, check that Mark secondary editing is enabled in the Annotation settings.
Use Undo for a misplaced mark: Ctrl + Z on Windows or Command + Z on Mac. Then check the image at roughly the size it will appear in your chat or document. Can you read the note without zooming? Are the switch and button labels unobstructed? Is the action clear without a separate explanation?
If the interface is still too busy, use Spotlight to highlight key information. If a detail is too small, see how to magnify screenshot details.
5. Copy or save the annotated screenshot
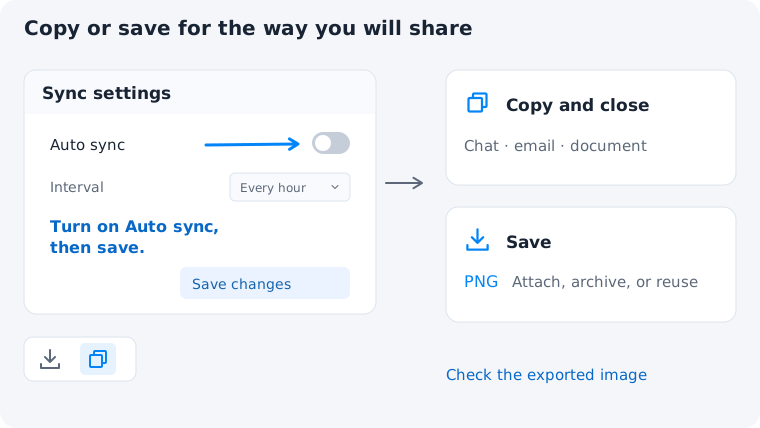
Choose Copy and close for an immediate reply, then paste into your chat, email, or document. Choose Save when you need a file to attach, archive, or reuse; choose PNG for interface text and sharp edges. Open the saved file or inspect the pasted image before sending, especially if the destination scales it down.
Frequently asked questions
Can I annotate an image I have already saved?
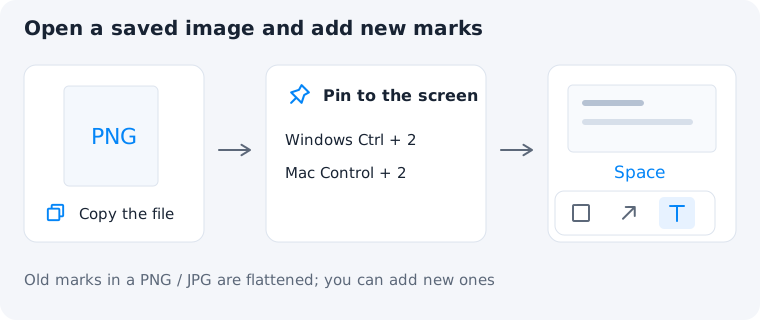
Yes. Copy a single image file in your file manager, then press Ctrl + 2 on Windows or Control + 2 on Mac to pin it. Press Space on the image pin to open the annotation toolbar. You can add new marks, but old marks baked into a PNG or JPG are part of the image, not separately editable objects. See the image pin manual.
Should I copy or save my screenshot?
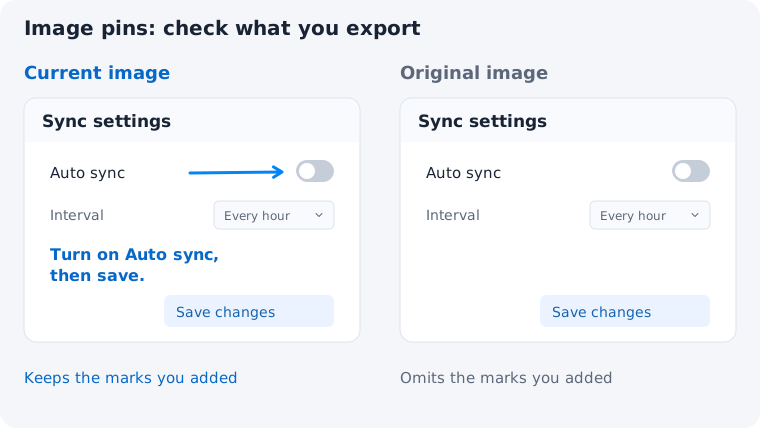
Copy for a quick paste; save for a reusable file. Both can include annotations. On image pins, the default is Current image; if your marks are missing, check the saving/copying setting and avoid the Original image option.
What if I need to hide private information?
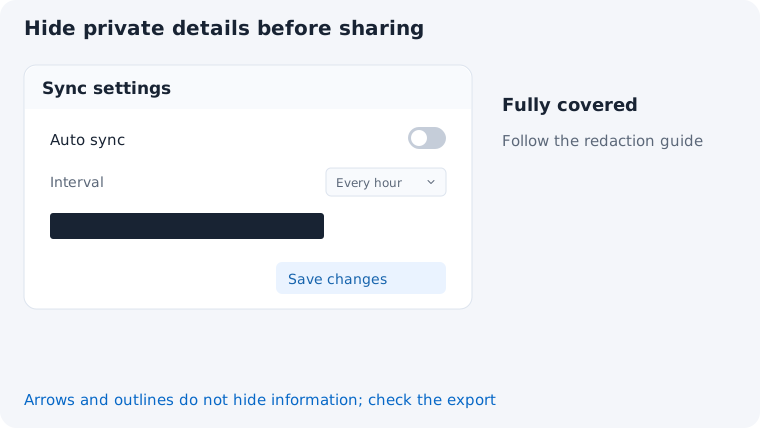
Follow the screenshot redaction guide before sharing. An outline or arrow does not conceal information.
Ready to try this workflow? Download PixPin or explore its screenshot annotation tools.