
How to Take a Screenshot on a Computer: Windows and Mac Shortcuts
Learn how to take a screenshot on a Windows 11/10 PC or Mac. Compare the main shortcuts, steps, save locations, and PixPin capture tools.
 Capture Guides
How do you record a GIF on a computer? With PixPin on Windows or macOS, select the part of the screen you want to capture, switch to Normal Recording, and start recording. When you finish, choose GIF and an export quality in the playback preview to save the recording as an animated GIF.
PixPin provides the same recording features on Windows and macOS. This guide uses the English Windows interface. The default screenshot shortcut is Ctrl+1 on Windows and Control+1 on macOS, and you can press G on either system to enter recording mode. Because Quick Recording only exports MP4, this guide uses Normal Recording for GIF capture and does not cover the detailed WEBP or MP4 export process.
If PixPin is not installed yet, download PixPin first, then follow the steps below to record your screen as a GIF.
Press Ctrl+1 on Windows or Control+1 on macOS to start a screenshot. After selecting the recording area, click the Record button on the toolbar or press G.
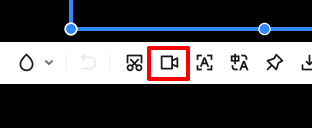 Select a screen area and click the PixPin Record button
You can also create a shortcut preset. Right-click the PixPin system tray icon on Windows or click the PixPin menu bar icon on macOS. Select Settings, then go to Shortcuts/Actions > Add New Action > Preset. Add Screenshot and GIF Recording, click Apply, and assign a shortcut manually. You can then use that shortcut to select an area and enter recording mode directly.
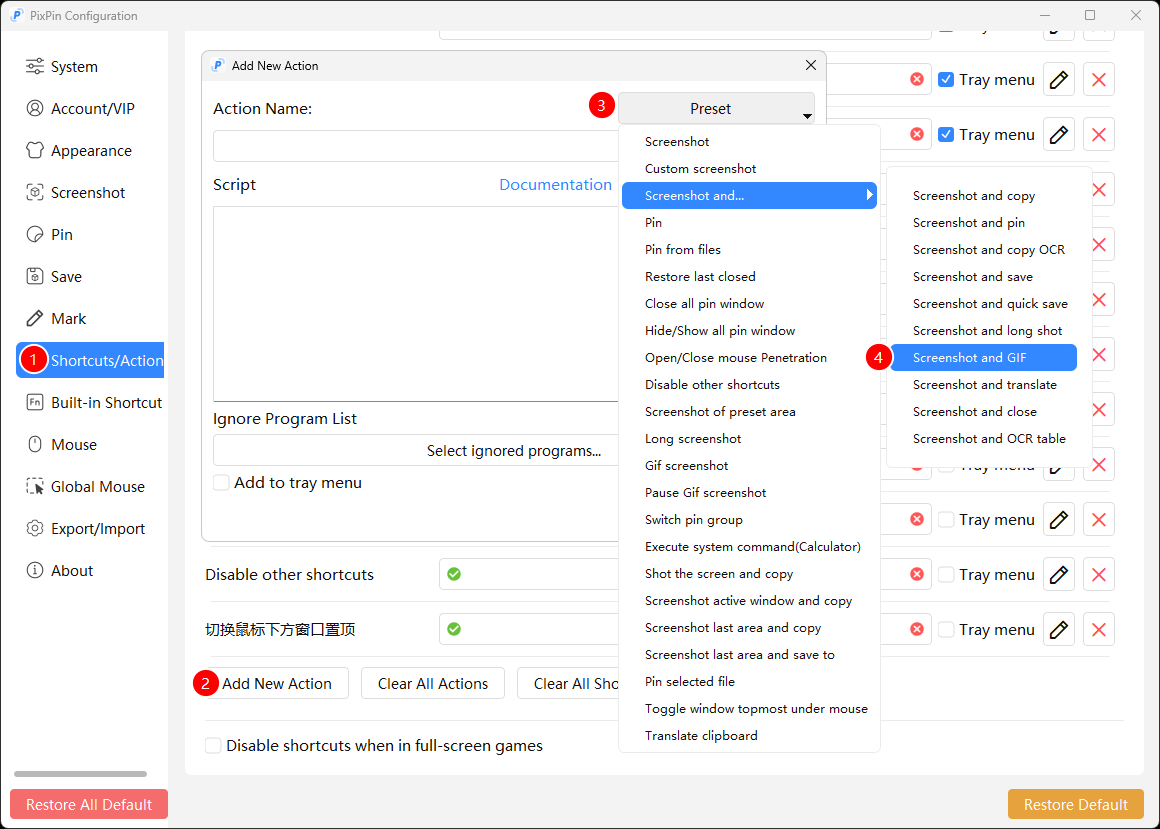 Add the PixPin Screenshot and GIF Recording preset on Windows
After entering recording mode, hover over the Record button to switch between Normal Recording and Quick Recording. GIF export requires Normal Recording; Quick Recording supports MP4 only.
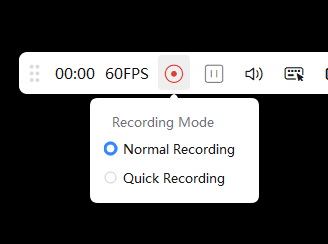 Switch between PixPin Normal Recording and Quick Recording
Turn on keyboard and mouse input recording when you need to demonstrate each action clearly.
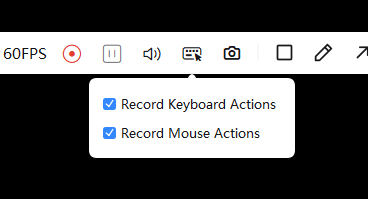 Enable keyboard and mouse input recording in PixPin
To include a camera feed, you can adjust its size, shape, mirroring, rotation, border width, and border color. PixPin supports up to two camera devices at the same time.
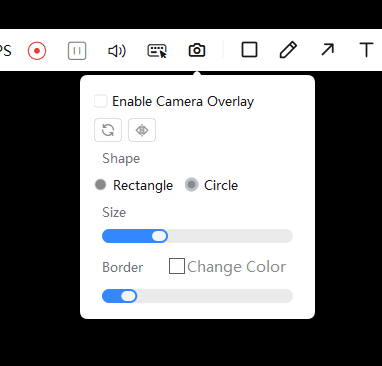 Configure the camera overlay for a PixPin GIF recording
Available frame rates are 5, 16, 24, 30, and 60 fps.
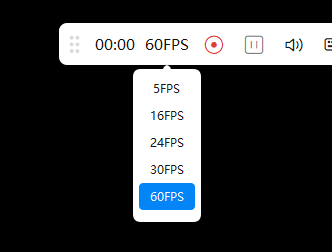 Choose a frame rate for a PixPin GIF screen recording
You can start recording immediately or after a delay of 1, 2, 3, 5, or 10 seconds.
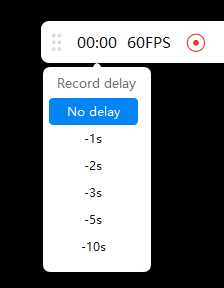 Set the delay for a PixPin screen recording
The recording settings also let you select system audio and microphone audio. System audio recording on macOS requires macOS 13 or later. GIF files do not support audio, so choose MP4 when you need to keep the sound.
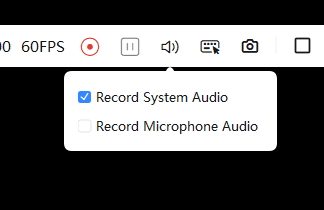 Select system and microphone audio for a PixPin recording
After configuring the settings, click the Record button. While in recording mode, you can also start with the default screenshot shortcut: Ctrl+1 on Windows or Control+1 on macOS.
Click the PixPin Record button to start recording a GIF
While recording, press and hold the Move button to reposition the recording area.
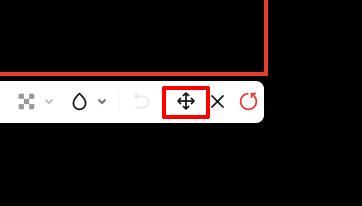 Move the PixPin GIF recording area
You can annotate the recording with shapes, pencil strokes, arrows, text, numbered labels, polylines, watermarks, the eraser, and the spotlight. Annotation buttons shown in gray are currently unavailable.
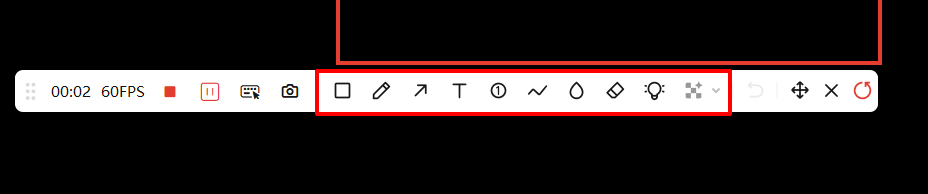 Use annotation tools while recording with PixPin
Click Pause when you need to stop temporarily.
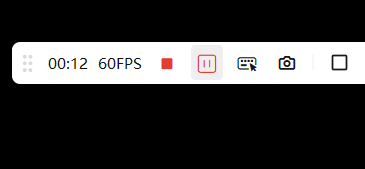 Pause a PixPin GIF screen recording
If the current recording is not what you expected, click Restart Recording to begin again.
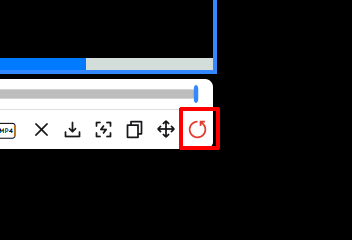 Restart a recording in PixPin
Clicking Close deletes everything recorded in the current session. PixPin shows a confirmation dialog the first time, where you can also choose not to see the warning again.
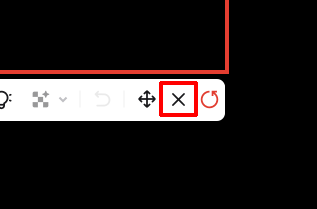 Close PixPin recording and delete the current recording
When you finish, click Stop Recording to open the playback preview. You can also stop with the default screenshot shortcut: Ctrl+1 on Windows or Control+1 on macOS.
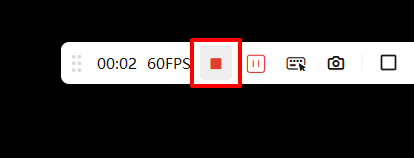 Stop the PixPin GIF recording and open the playback preview
PixPin automatically plays the recording when the playback preview opens. Click Play to pause, or drag the timeline to inspect a specific point.
Volume can be adjusted from 0 to 500. Audio is not included in an exported GIF, so this setting is mainly useful for reviewing the recording or exporting another format.
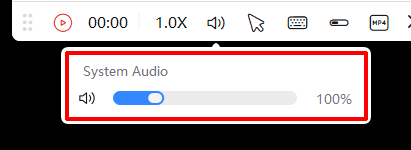 Adjust the volume in PixPin recording playback
Mouse settings control whether the pointer appears, the pointer animation speed, which mouse actions are displayed, and the pointer size.
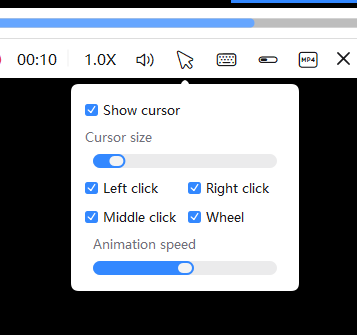 Adjust mouse animation and size in a PixPin screen recording
Keyboard settings control the types of keys shown and the text color, background color, and size of the key labels. Available key types include modifier keys, character keys, shortcut combinations, and other keys.
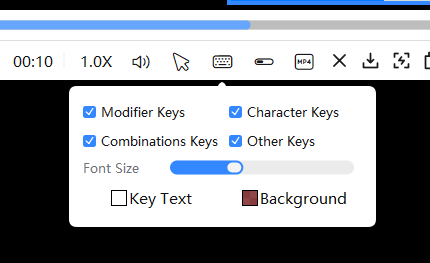 Adjust the keyboard and mouse style in a PixPin recording
Progress settings control whether progress is shown, the countdown style, and the progress indicator’s size and color. The countdown can appear as text or a progress bar.
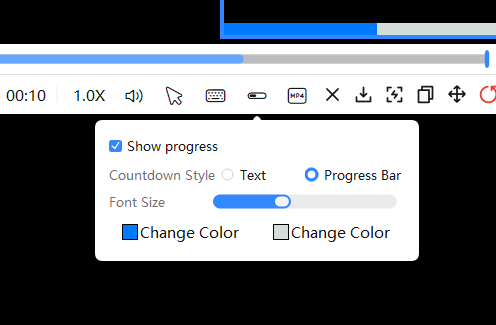 Configure the countdown progress style for a PixPin GIF recording
Available playback speeds are 0.2x, 0.5x, 0.8x, 1.0x, 1.2x, 1.5x, 1.8x, and 2.0x.
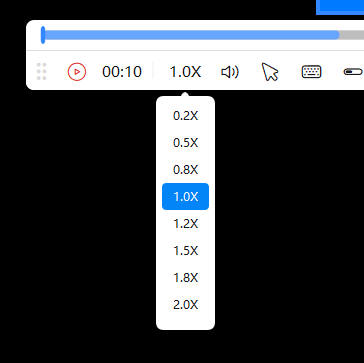 Choose the playback speed for a PixPin recording
After reviewing the recording, hover over the format selector and choose GIF. The three export formats differ as follows:
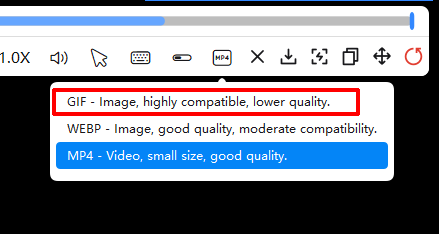 Select GIF export in the PixPin playback preview
Hover over the Export button and choose Lightweight, Standard, or Original quality.
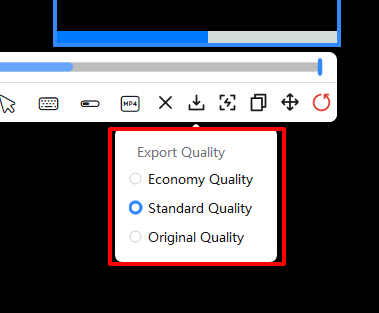 Choose Lightweight, Standard, or Original quality for a PixPin GIF
After selecting the export quality, confirm the save location in the dialog. PixPin begins exporting, and the GIF appears in the selected folder when processing is complete.
GIF works best for short software demonstrations and quick clips. Understanding these limitations before recording can help you avoid image quality, file size, and export-time problems.
| Limitation | Solution |
|---|---|
| GIF supports a maximum of 256 colors. Videos, games, and scenes with gradients may show color banding, grain, or blur. | Choose WEBP when image quality matters, or MP4 when you need to preserve more colors and motion detail. |
| GIF does not support audio. The exported GIF remains silent even if system or microphone audio was enabled while recording. | Choose MP4 when you need sound. |
| A larger recording area, higher frame rate, or longer duration usually creates a larger GIF that may exceed upload limits on messaging apps or websites. | Record only the necessary area and segment, and reduce the frame rate or export quality. For longer content, use Quick Recording and export MP4. |
| PixPin uses the GPU while recording, but GIF rendering and encoding after recording rely mainly on the CPU and do not use hardware acceleration. More on-screen changes, longer recordings, and higher quality all increase export time. | Shorten the recording, reduce the capture area, or lower the export quality. For hardware-accelerated export, choose MP4 and enable hardware acceleration. |
| Normal Recording must render and encode after capture, so it is not suitable for long, continuous sessions. | Use Quick Recording and export MP4 for meetings, classes, or long videos. |
No. A video cannot be recovered after you manually close it. PixPin displays a confirmation dialog the first time you click Close.
If the keyboard and mouse recording button is missing, Quick Recording may be selected. Quick Recording cannot capture keyboard and mouse actions, so switch to Normal Recording.
If the camera button is missing, check that a camera is connected and recognized by the operating system, then reopen the recording interface.
PixPin uses the GPU during recording, but GIF rendering and encoding after recording rely mainly on the CPU and do not use hardware acceleration. Longer recordings, more complex visuals, and higher export quality generally require more time. Normal Recording also has to render and encode the content after capture, so some waiting is expected.
You can shorten the recording, reduce the capture area, or lower the export quality. To use the GPU during export, select MP4 and enable hardware acceleration. Hardware-accelerated export currently supports MP4 only.
PixPin does not impose an additional file size limit on recordings in theory. The practical recording and export limit depends on the storage space available on your device, and an export may fail when space is low. Messaging apps and websites may have their own upload limits, so check the destination platform before sharing.
You must export the recording manually. After you choose an export quality, PixPin opens a save-location dialog. When the export finishes, the GIF is available in the folder you selected.
To record a GIF on a computer, select a screen area, capture your actions in Normal Recording, review the result in the playback preview, and then choose GIF, an export quality, and a save location. The workflow is the same on Windows and macOS. The default screenshot shortcuts are Ctrl+1 and Control+1 respectively, and G enters recording mode on both systems.
GIF screen recordings are best for short instructions and quick sharing in chats. Choose WEBP or MP4 when you need sound, better image quality, or a longer recording. If you know the workflow but have not installed the app, download PixPin to get started.
Related posts
 Capture Guides
Learn how to take a screenshot on a Windows 11/10 PC or Mac. Compare the main shortcuts, steps, save locations, and PixPin capture tools.
 Capture Guides
Learn how to pin a screenshot or image on screen with PixPin, resize it, keep it always on top, lock it, or restore it from pin history.
 Capture Guides
Learn how to translate a screenshot or text in an image with PixPin on Windows and macOS. This guide covers shortcuts, toolbar and pinned-image methods, translation modes, target languages, and API key setup.